An Intro to Ham with QFH
an_intro_to_ham_with_QFH.md
A great way to start building an antenna is to build something that has already been heavily built and documented. For me, this was a QFH antenna with the purpose of listening to the NOAA POES (Polar Operational Environmental Satellites) which sends out a continuous scan of the earth for the purpose of weather prediction and documentation. This was my first dive into amateur radio and taught me a lot about antennas and their basic structures.
How To Build A QFH - here are instructions I used to build my first antenna. This is a basic tutorial on cutting, bending, and soldering together copper pipe into a structure that can receive the radio output of the NOAA POES from any angle, hence what makes it an omnidirectional antenna.
Since this was my first antenna, it was quite the experience, with new things happening at every turn. Following the directions, I first cut out segments of copper pipe to length, bending some into a specific semi-circle shape that I made by bending to a cardboard cutout.
Pipes layed out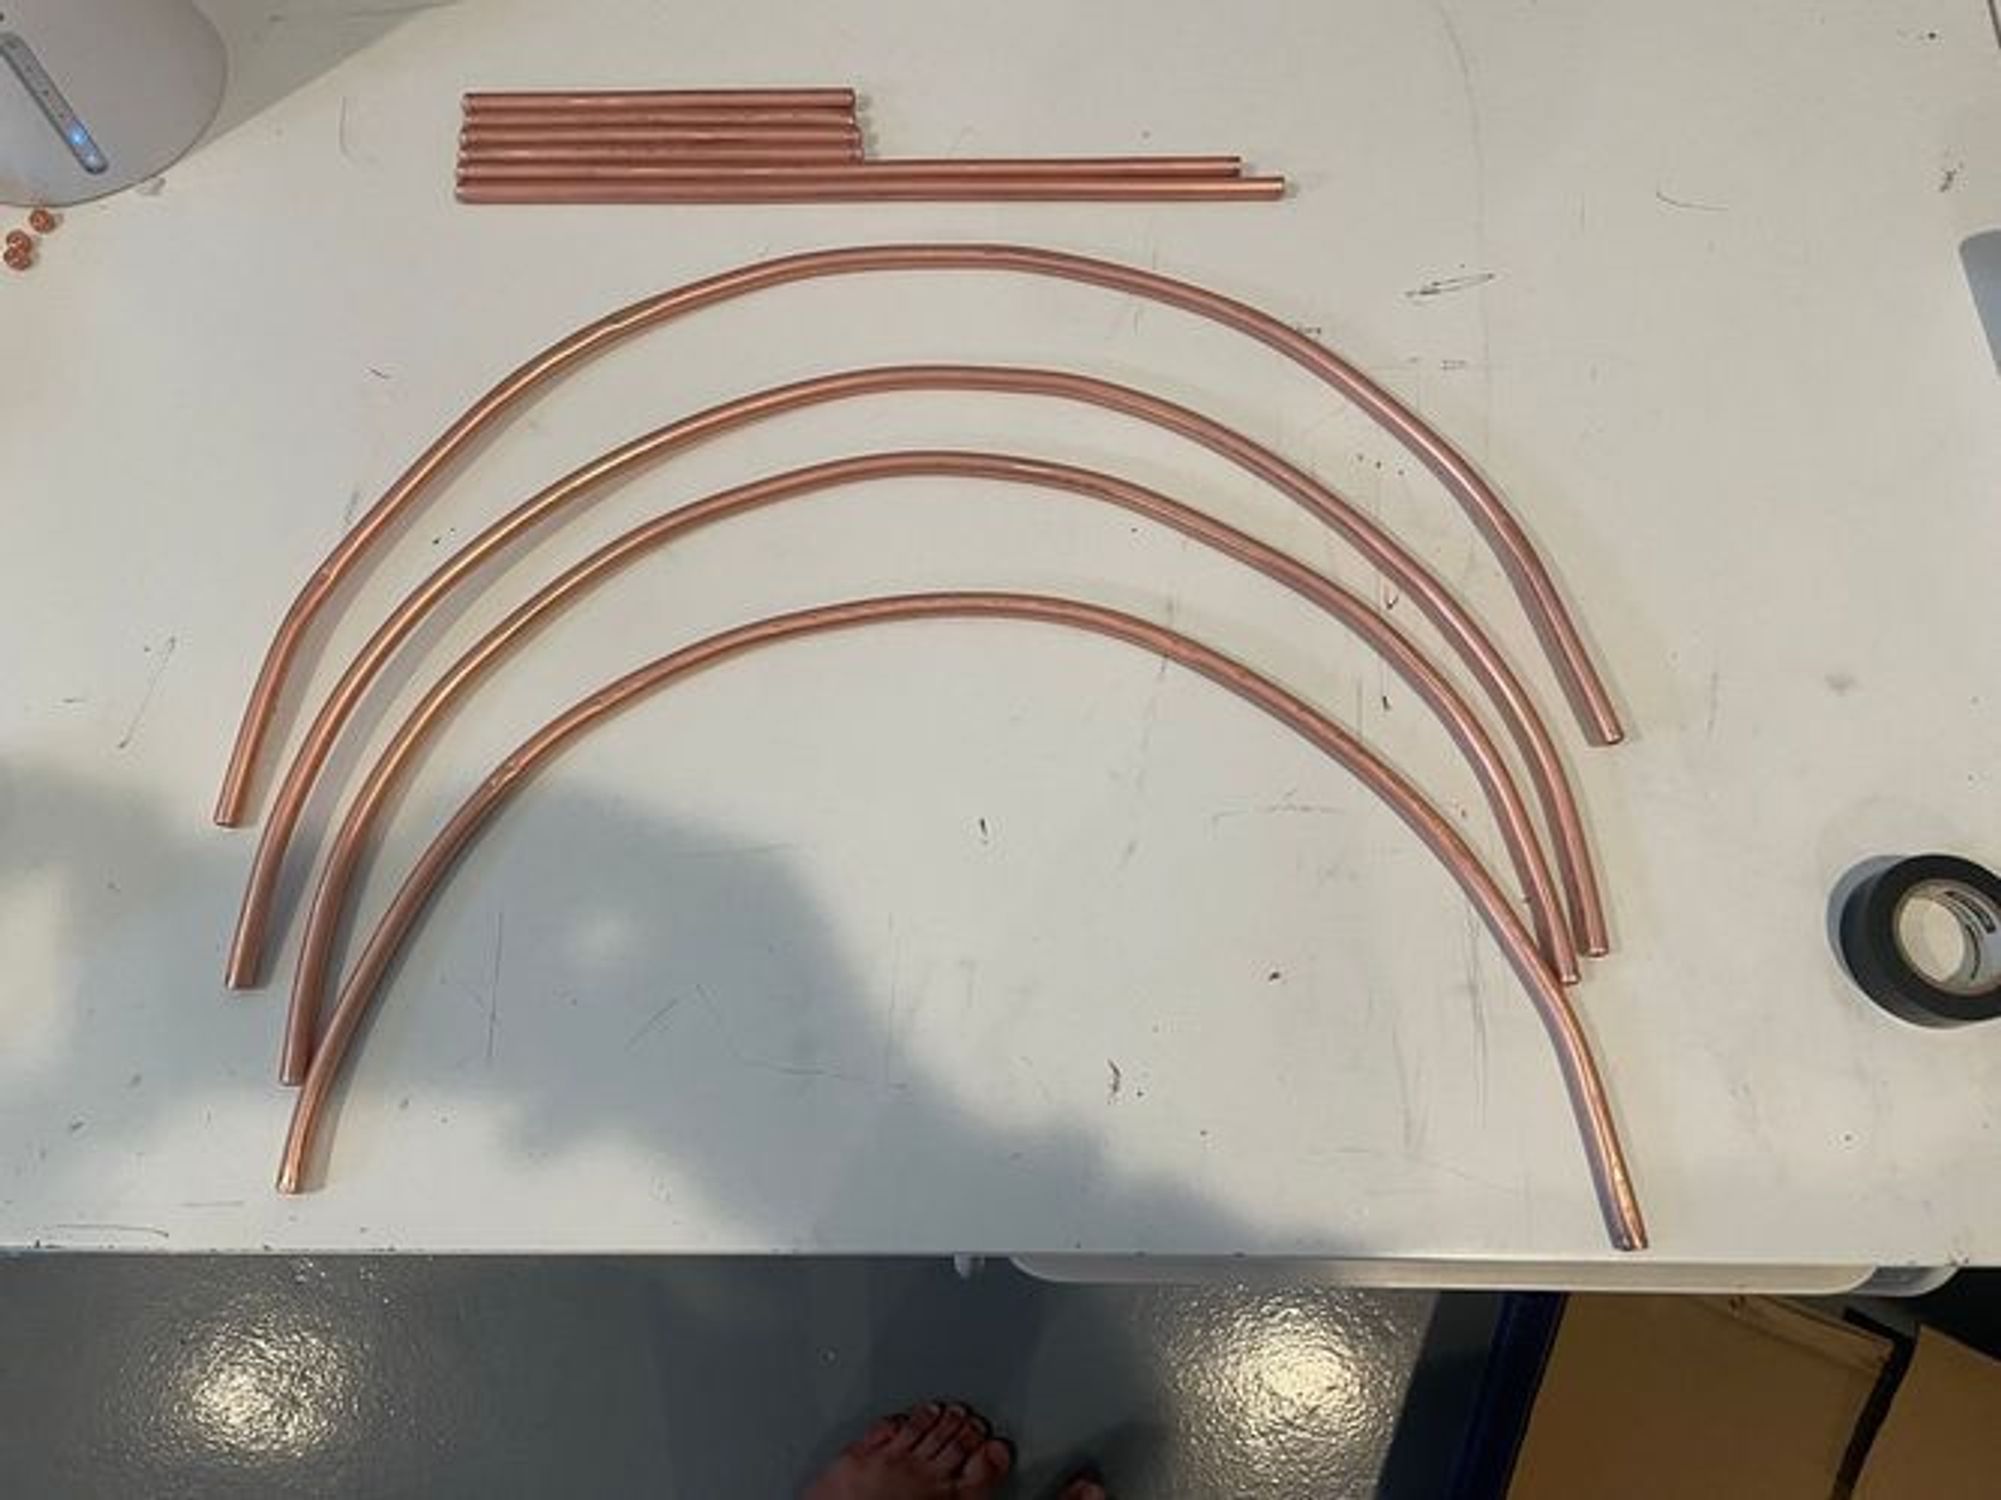
After the pipe parts were cut out, I then needed to focus on the antenna body, which is just a PVC pipe that held the copper pipe in place. I need to drill two sets of holes on the top and bottom to form copper crosses at both areas. Additionally, I needed to thread the coax cable thru the pipe, bringing the end of the coax to the top of the pipe.
PCV with some copper installed
After I got the PVC set up, I then inserted all of the copper elements. Since this is a helical antenna, but my copper pipes are still in semi circles, I had to bend them again so that together they would all form a helical shape. Once bent, I dry-fitted everything onto the antenna to make sure they fit. Technically, if I really wanted to, I could hook up the coax cable and have a (kinda) fully functional antenna.
Dry fit of all the parts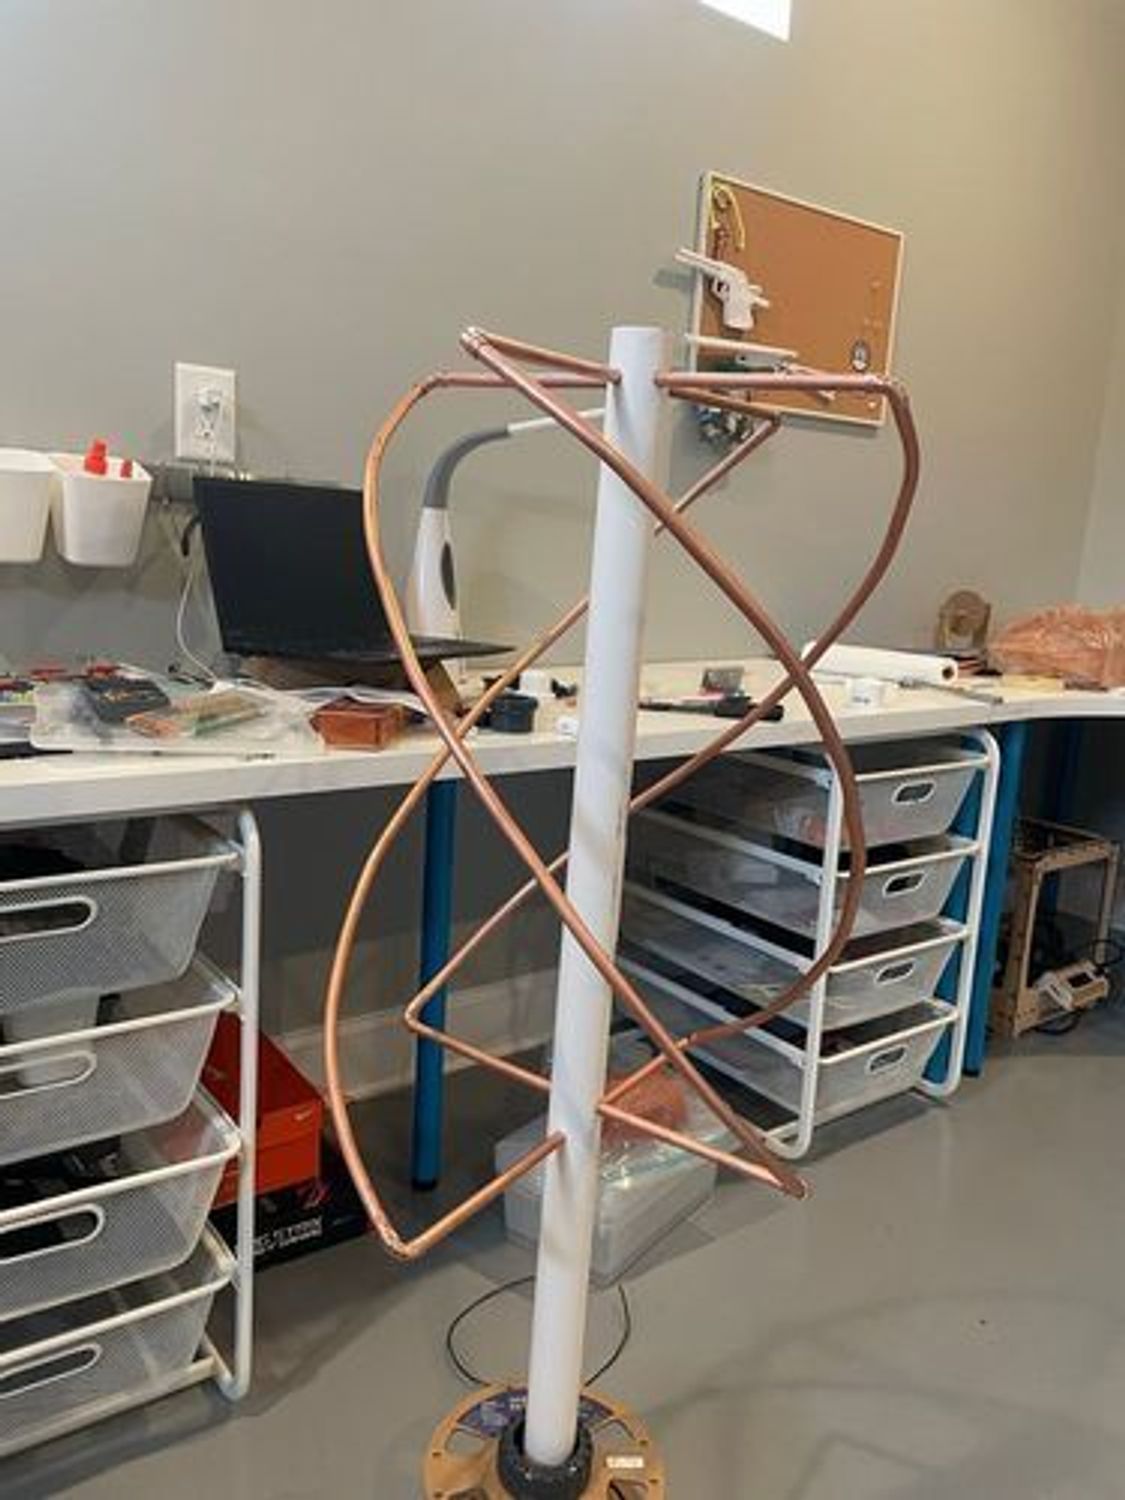
Once big caveat to this, however, is that nothing is actually connected, just friction fit. So to set this all in stone and actually electrically connect the copper pipes, I soldered them together using a blow torch.
Blow torch lesgo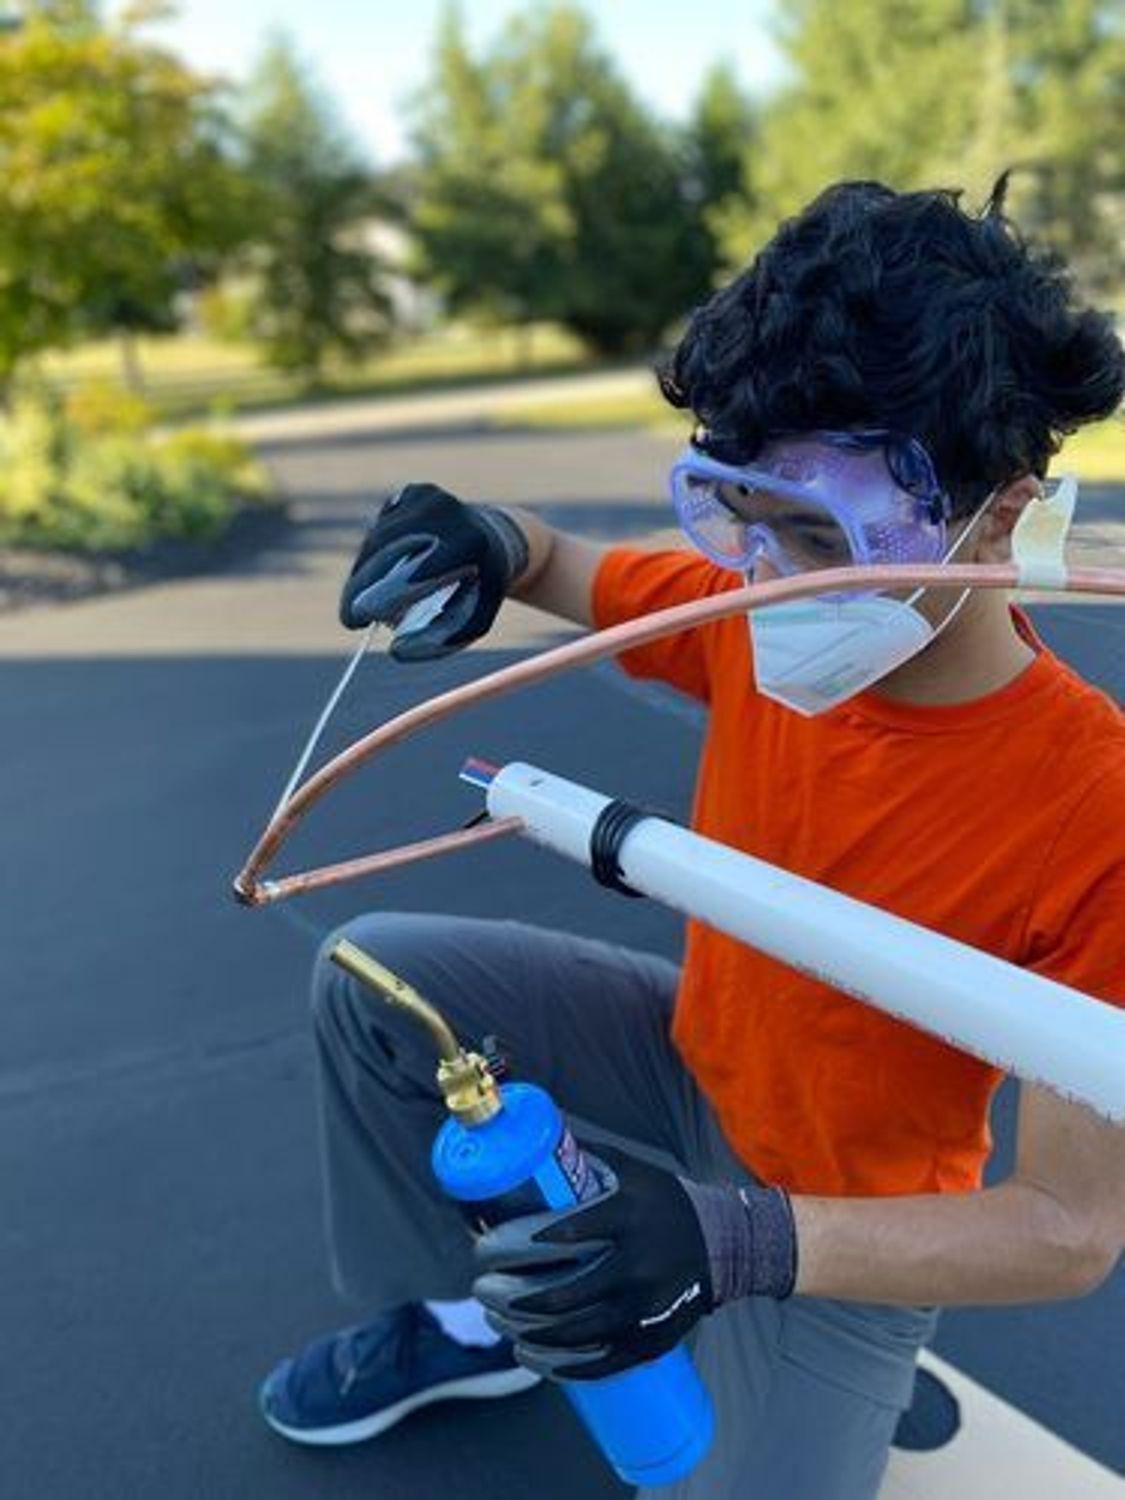
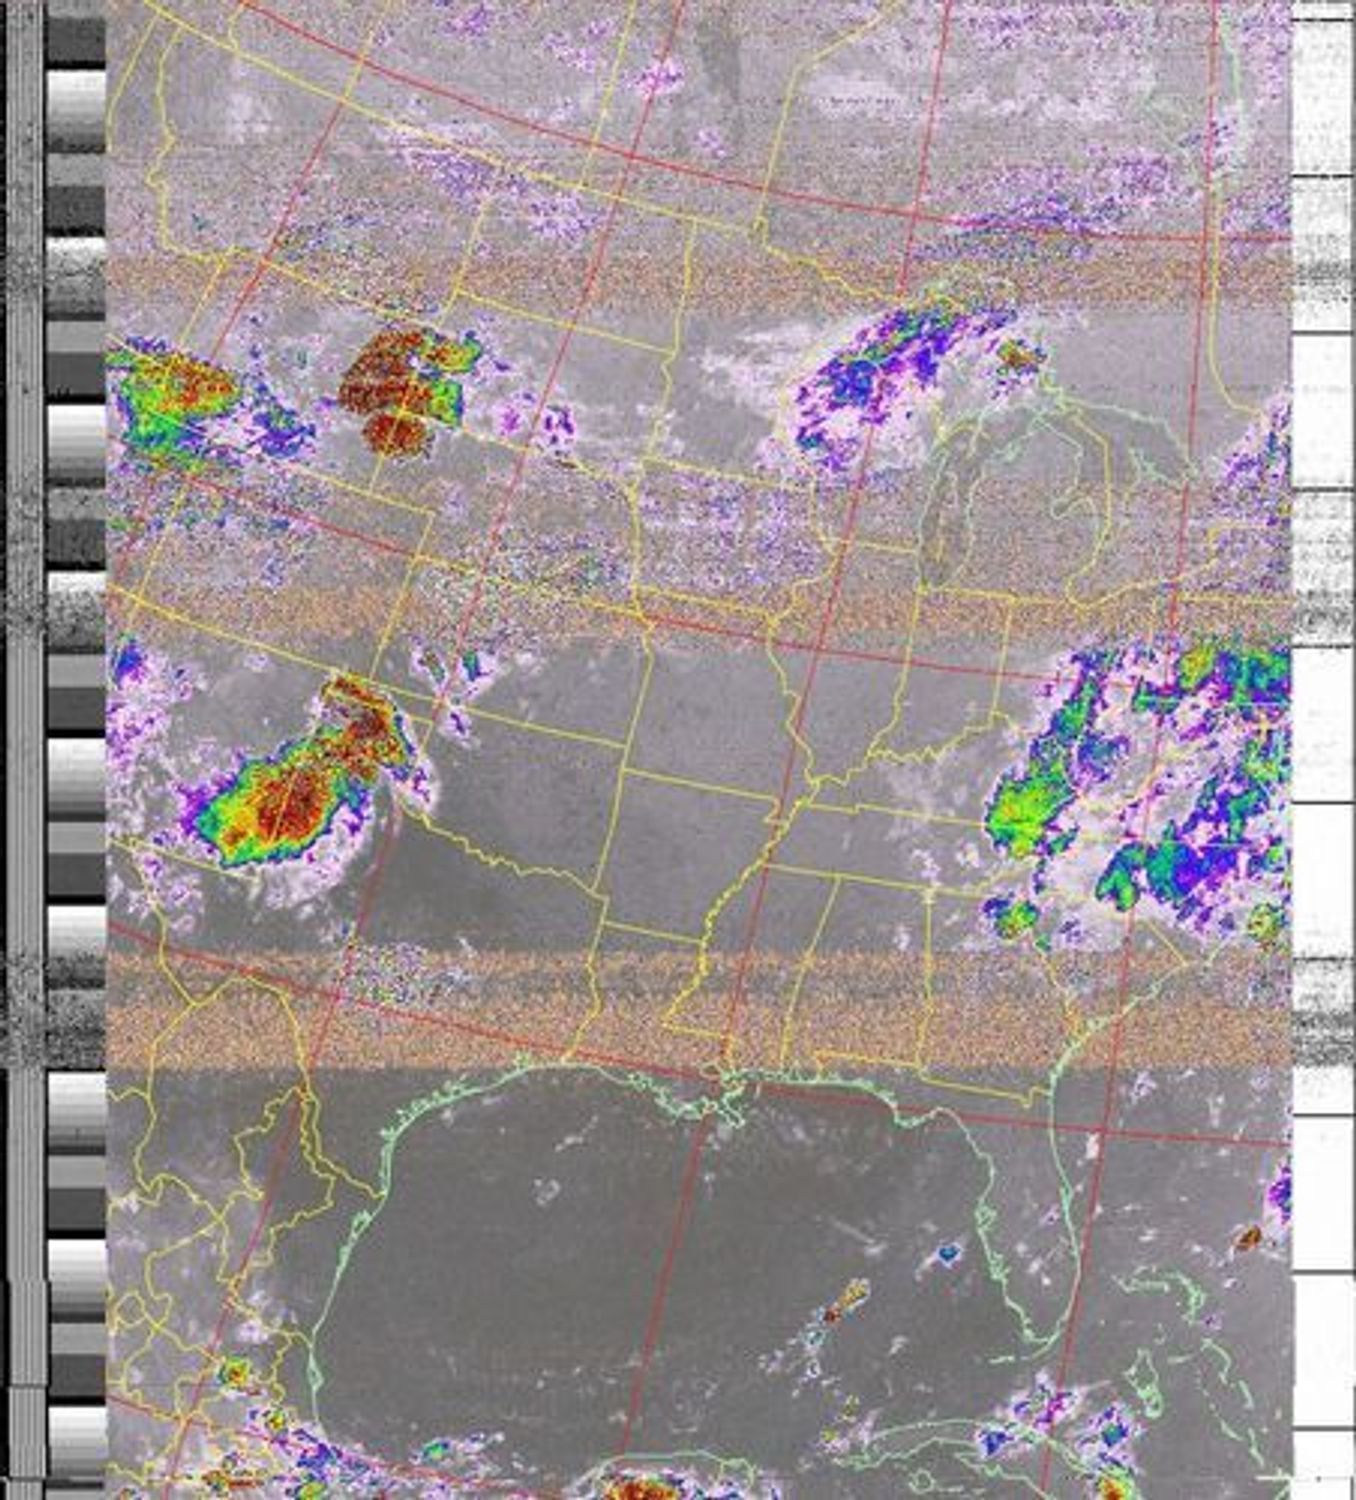
Quite the enjoyable experience! After that was done, I just had to connect the coax to each side of the helix at the top of the PVC pipe and then terminate the coax at the other end with a SMA connector so I could connect it to my radio. And with that, my antenna was complete! The next step for me was to find a way to keep it upright, give it as much horizon as I could get so I could get the longest possible contiguous signal for the best image and I had my own weather station. Despite my antenna being built correctly, however, I was still unable to receive any sort of data. While the radio could pick up normal FM radio, the signal from the satellites would just be missing, despite the fact that I knew for sure that they were above me and that I was on the right frequency. It turned out to be an issue with my radio, so I just bought a new one (and a different brand) and we were in business. I now had images taken from space brought directly to my laptop.
midnight listening first good scan from the NOAA POES